Ok before I can get to the development stage I’ll need to setup my development environment so I can test my game locally. It looks like they have a list of suggestions to do choose from and handily using http-server with nodeJs is the one I was thinking of so I’ll start there.
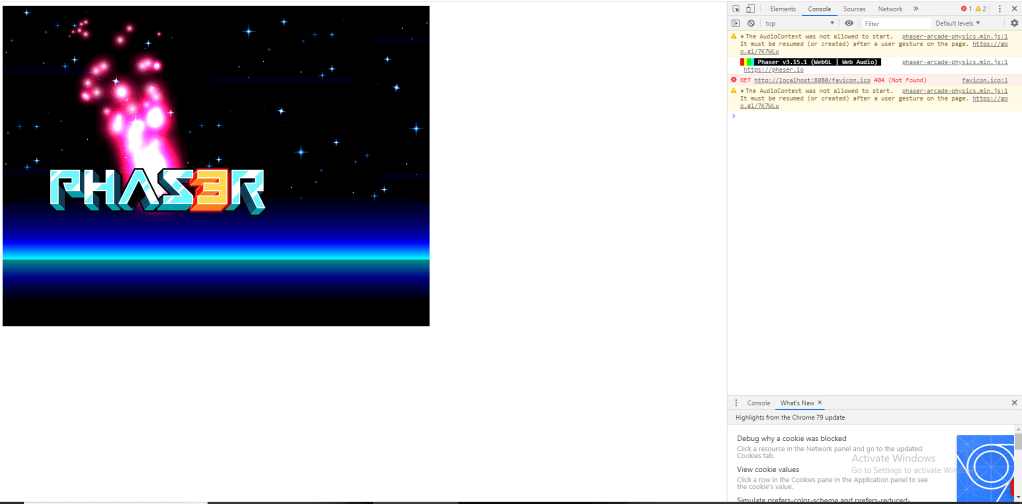
So far so good, everything is setup now at least and I got to see a little bit of Phaser at work by following a neat little tutorial for getting things going development-wise. It looks like the structure at least is following the same lines from when I was using it In which they have 3 main functions: preload(), create() and update() (although this tutorial doesn’t go into update yet).
The preload() function is used to load in all your assets and the create() function is usually for setting them on the stage and allowing you to assign specific physics values to them. In this case it was used to set a velocity to the logo to keep it moving and to attach the red particles to follow along using built in methods.
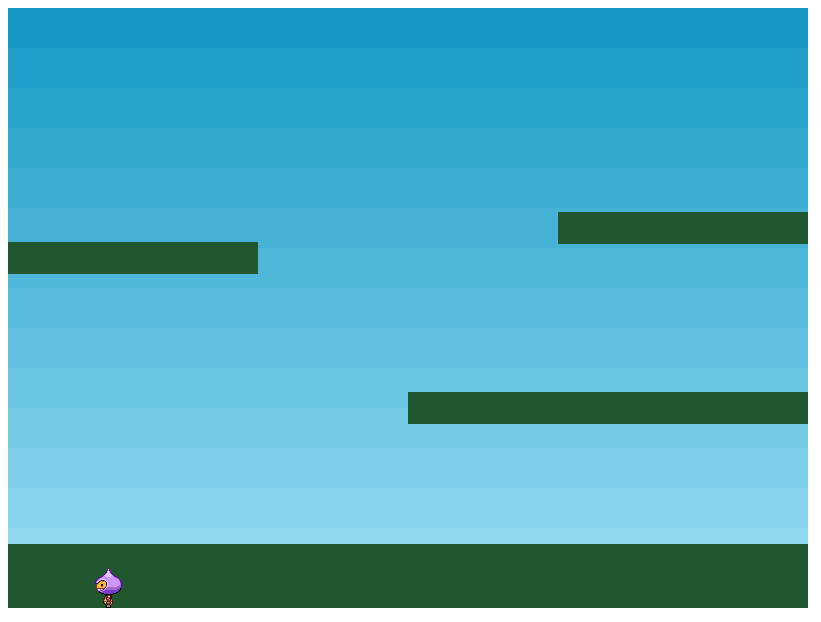
Now something more akin to a game is starting to take shape, however no velocity has been set to anything this time round so nothing is moving and bouncing about. This is where the update() function will come in handy as that’s where the actual movement for the little guy is going to come from.
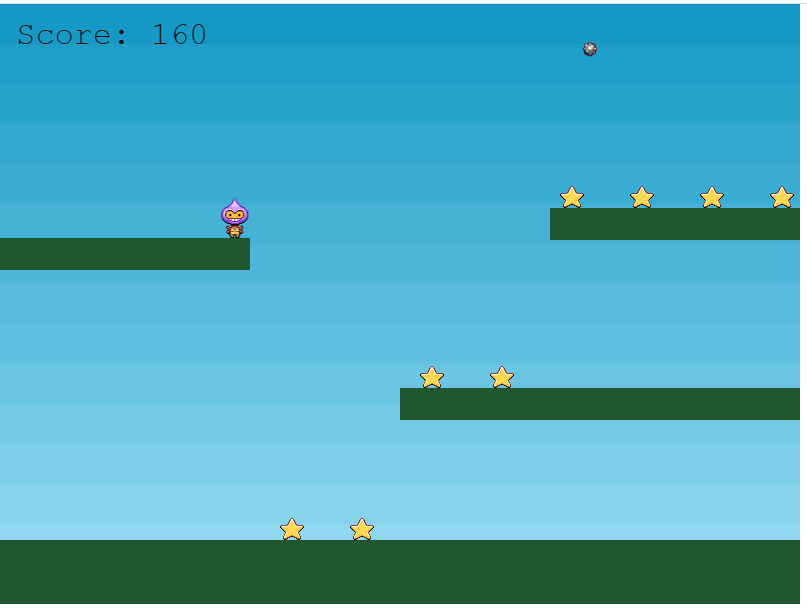
And there we have it, one Phaser 3 tutorial happily completed. It’s quite a handy and informative tutorial which makes way more sense to me now that I have a few more years experience with JavaScript so I’m getting more familiar with how stuff is slotting together. There are quite a few things I want to cover that I found pretty convenient and enjoyable to use but that’s best saved for the bits and progress that I show for the game I’m going to be working on using Phaser 3 in my future posts.
